The Best Tips for Underwater Photography in Maui

Aloha! | E Komo Mai
Traveling to Maui? Sweet – You’ve probably already pictured yourself swimming under waterfalls and hiking through rainforests. But with such incredible marine life, Maui is also an underwater photography paradise.
And before going snorkeling at Turtle Town or other parts of the island, make sure to take your time to read this ultimate guide about the best tips for underwater photography in Maui.
We’ll go through the basics and deeper topics such as the format, the editing part, and more, so stick to the end.
10 Tips for Underwater Photography in Maui
Let’s get right into the main topic – the best tips for taking underwater photos in Maui, one of the best, most beautiful islands in the world.
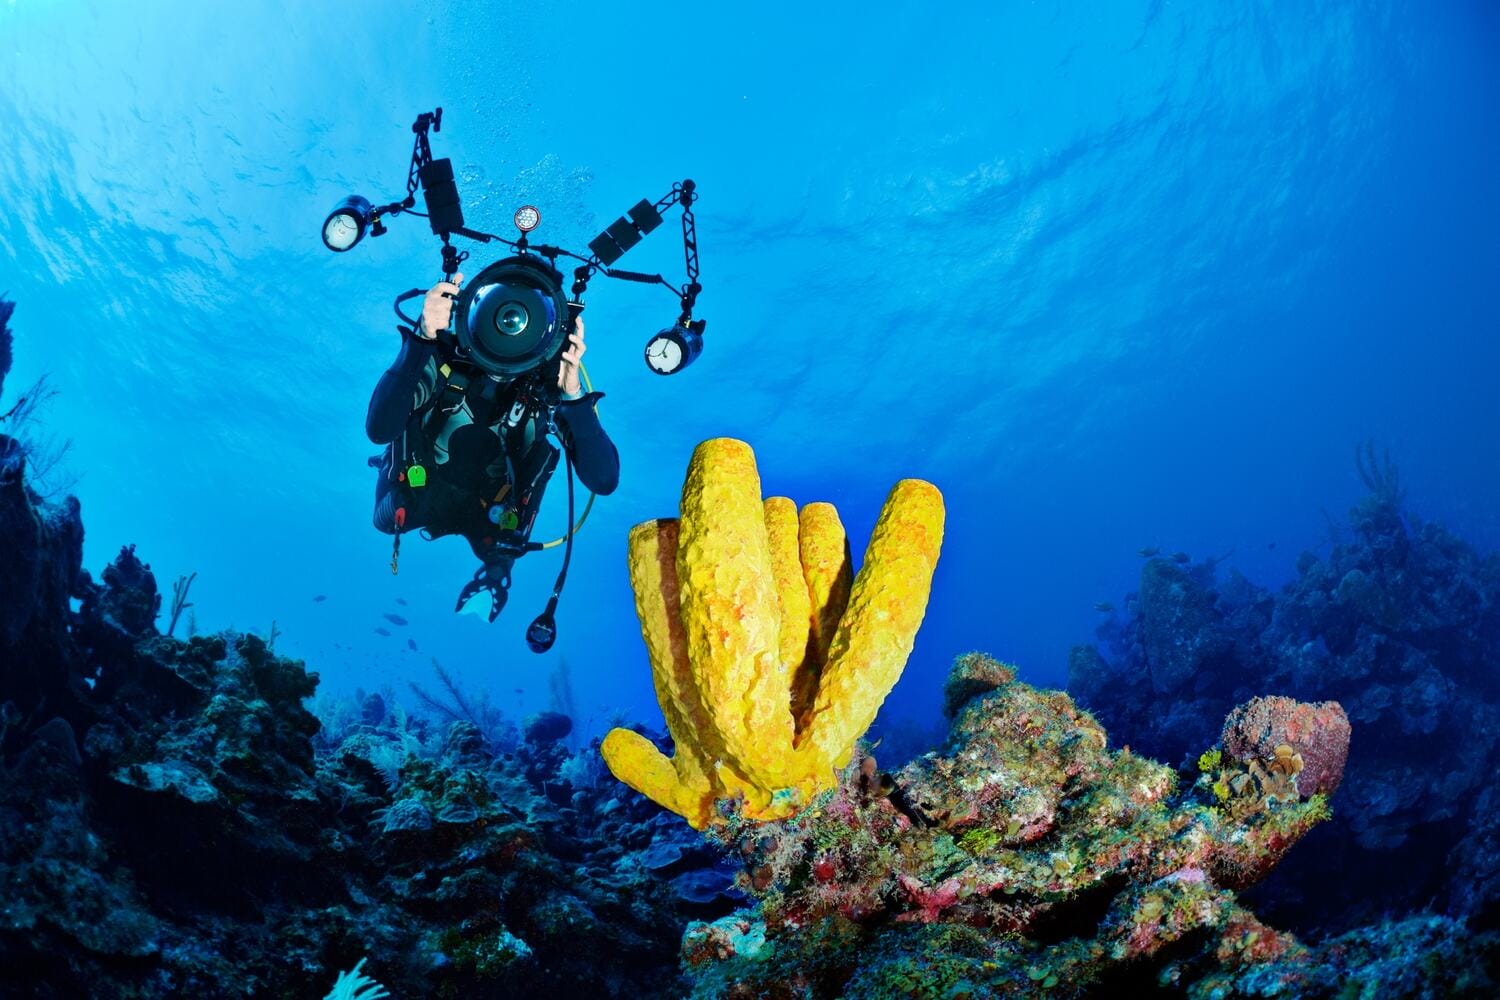
Invest in the Right Gear
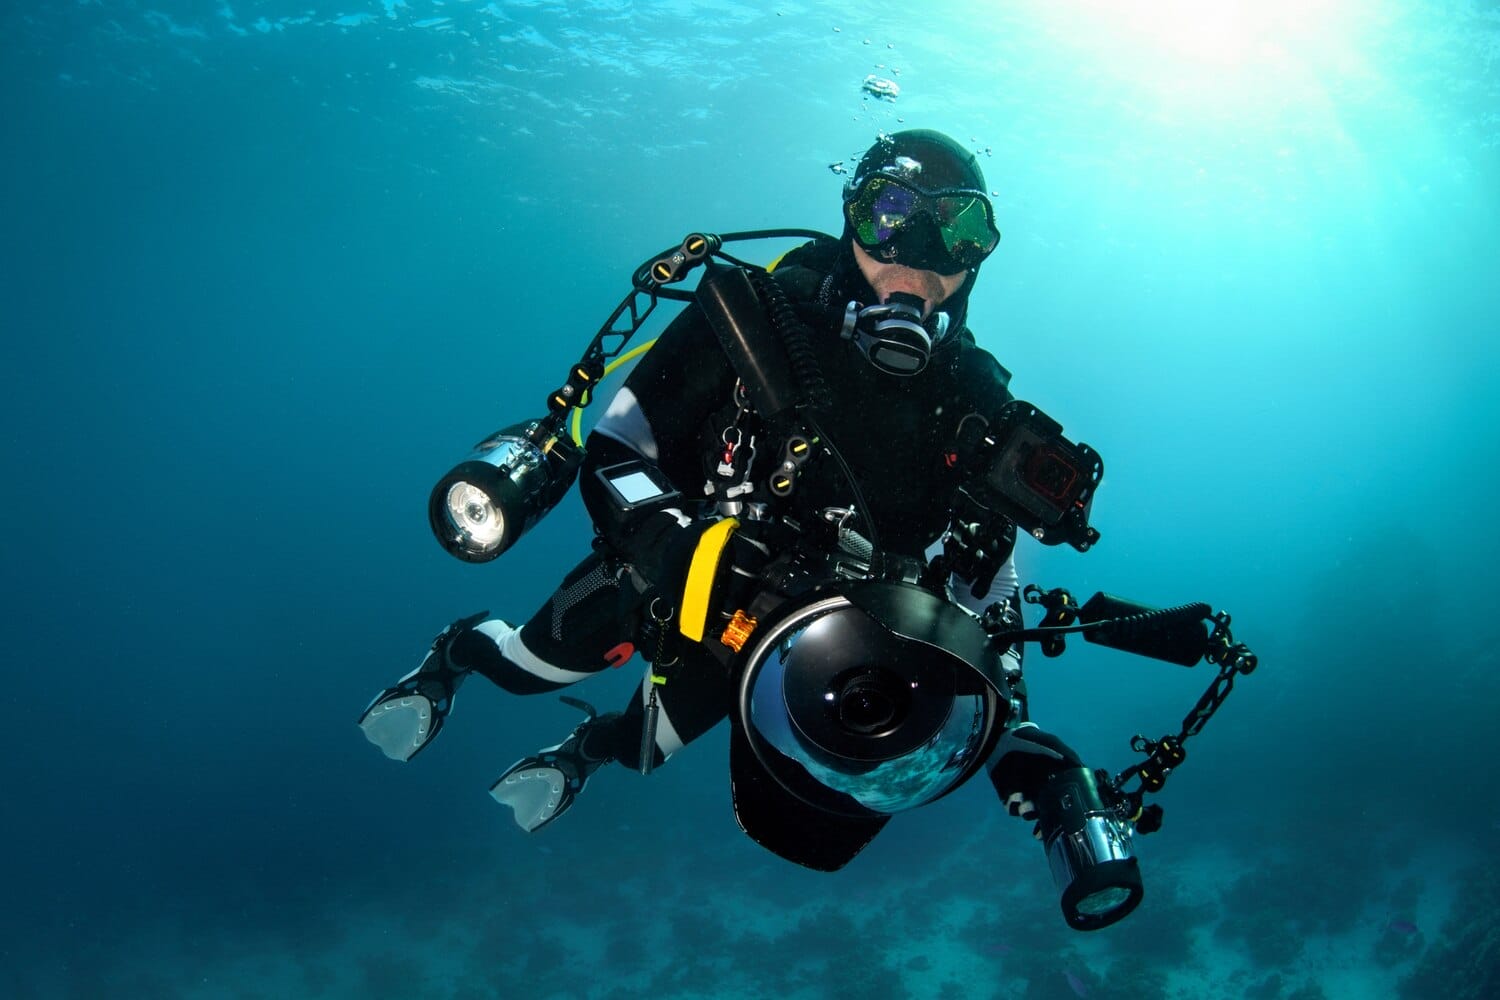
You don’t need the most expensive gear but using the right tools will make a big difference if you want to become a good underwater photographer in Maui. Here are the essentials:
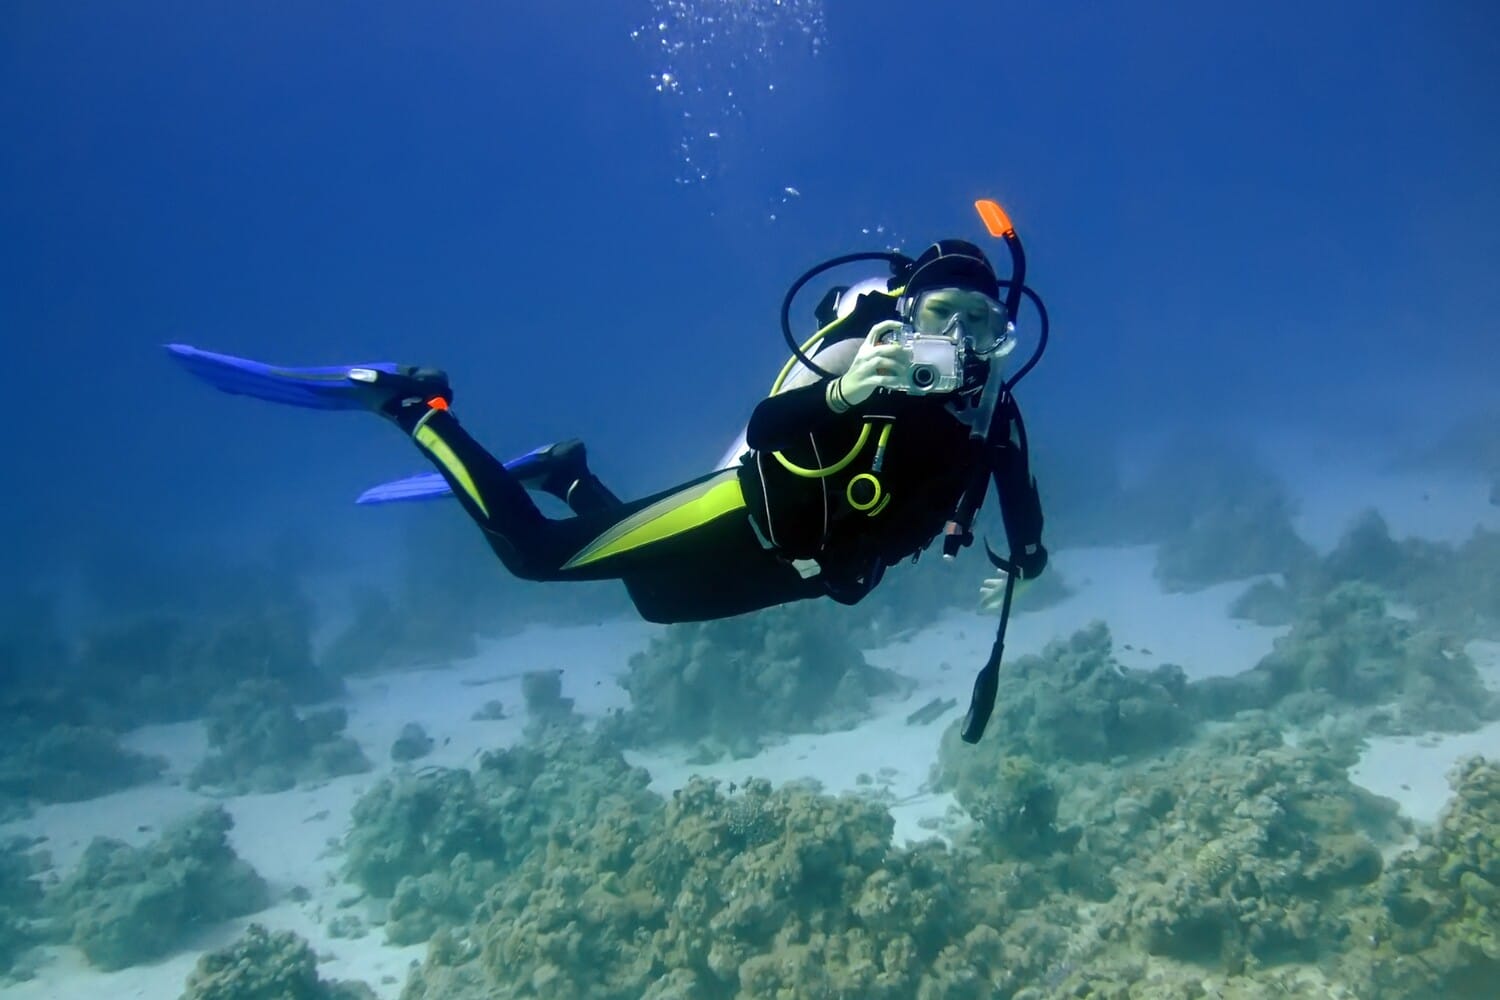
Underwater Housing
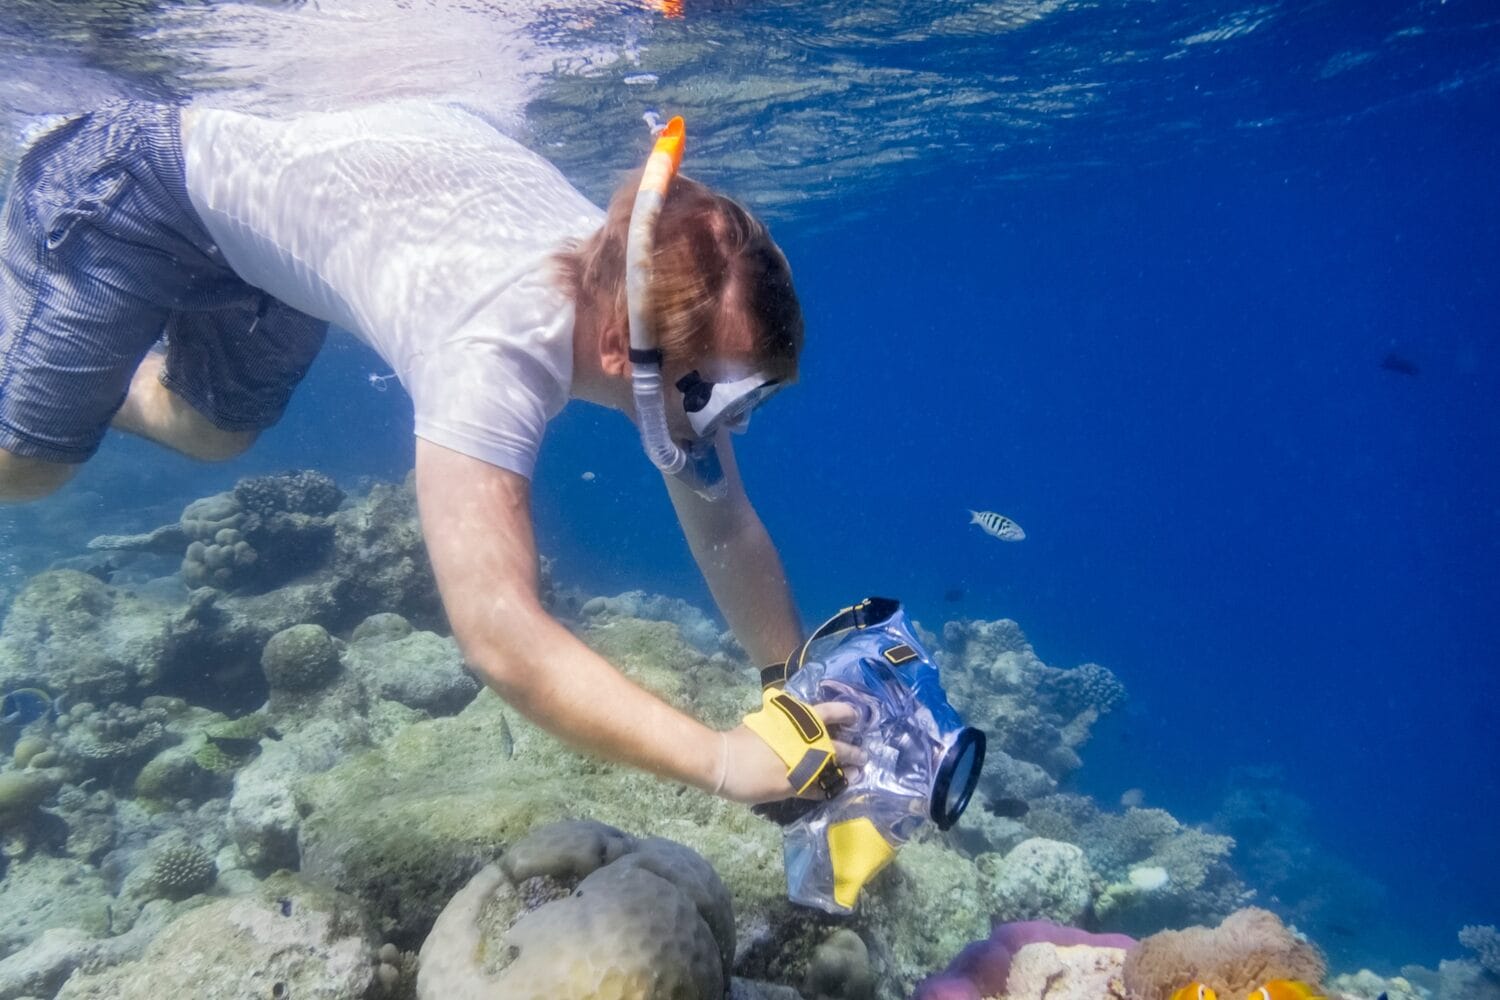
Get an underwater housing for your camera (or a smartphone housing if you use your phone). This will keep your camera dry and functional at depth. Without a housing, your camera can be damaged by water, pressure, and salt.
Look for housings with easy access to the camera controls so you can adjust settings without removing the camera from the case. Then you can focus on shooting underwater without worrying about your gear.
Wide-Angle Lens
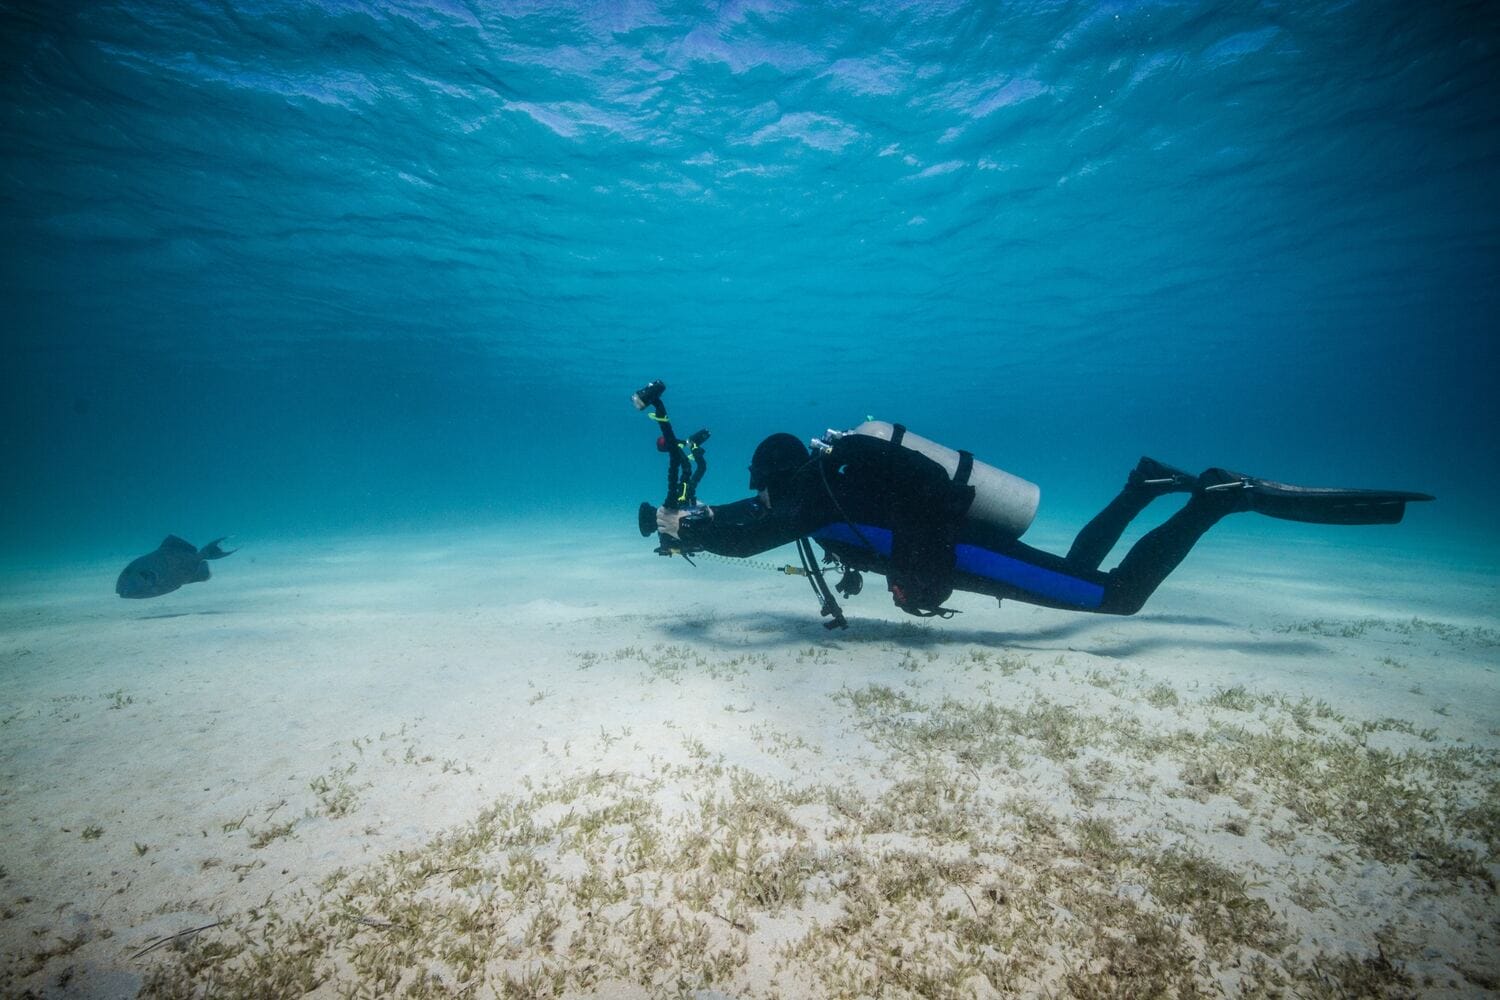
A wide-angle lens is a must for underwater photography in Maui. The waters here are full of life, from coral reefs to schools of fish. A wide-angle lens lets you fit more in the frame.
You can get closer to your subjects and get clearer and more colorful images, and with so many snorkeling spots in Maui, you have plenty of choices to get close to some unique marine life. Perfect for capturing the coral and the movement of marine creatures in their environment.
Macro Lens (Optional)
If you want to see the small stuff of underwater life, then a macro lens is a great addition to your gear. This lens lets you focus on tiny marine creatures, like nudibranchs, shrimp, and other small critters that go unnoticed.
A macro lens brings out the detail and color of these tiny creatures, a whole new perspective on Maui’s underwater world.
Not necessary for all divers, but surely a great tool for those who want to see the tiny wonders of the ocean.
Strobes or Video Lights
Ambient light fades fast as you go deeper, resulting in dull or blue-tinted photos. To combat this you’ll need strobes or video lights. Strobes are great for stills, they provide a burst of light that illuminates your subject with natural-looking light.
They bring back the color lost underwater and make your photos pop. For those who want to film, continuous video lights are better.
These lights provide a steady source of light for smooth and well-lit video. Both strobes and video lights are essential for better underwater photography and videography.
Know Your Camera
Knowing how to adjust your camera settings is key to getting amazing underwater photos. Here are the settings to focus on:
Shutter Speed
Shutter speed is key to getting sharp images of marine life in Maui. A fast shutter speed of 1/250th of a second or faster will freeze fast-moving fish and other underwater creatures.
Especially when shooting in a dynamic and unpredictable underwater environment. Slower shutter speeds will create artistic motion blur and add movement and flow to your images.
Adjust your shutter speed to your desired effect and the behavior of the subject, which is probably going to be fish or turtles!
Aperture
Adjusting the aperture is key to controlling the depth of field in your underwater shots. A wider aperture (lower f-stop number, f/2.8 or f/4) will create a shallow depth of field and blur the background and emphasize your subject.
Perfect for highlighting a specific fish or coral and making it pop against a soft background. A wider aperture also lets more light in the lens and brightens your images which is great for dim underwater conditions.
A narrower aperture (higher f-stop number, f/8 or f/11) will keep more of the scene in focus which is good for wide-angle reef shots or groups of marine life, especially if you plan to go snorkeling at Molokini Crater.
ISO
Adjusting the ISO controls the camera’s light sensitivity. Underwater where light is limited, increasing the ISO will brighten your images.
But a higher ISO will add grain or noise and reduce image quality, so don’t overdo it. Start with a low ISO (100-400) and only increase as needed in low-light situations.
For deeper dives or overcast days, you may need to push the ISO higher but always be aware of the trade-off between brightness and noise.
Master Buoyancy
Good buoyancy (or ability to float) is key for any diver, especially when diving in Maui. It allows you to be stable which is key to getting steady and clear photos.
By mastering buoyancy you can hover in the water and get up close to marine life without disturbing or damaging the reef.
To improve your buoyancy skills consider taking a buoyancy course. These courses will teach you how to adjust your body position, breathing, and use of your BCD to achieve perfect neutral buoyancy.
Good buoyancy gets you closer to your subject whether it’s a fish or a coral formation without stirring up sediment or startling the creature. This proximity equals clearer, more detailed, and more vibrant photos.
Plus, good buoyancy saves your energy so you can enjoy your dive more and spend more time underwater exploring and shooting!
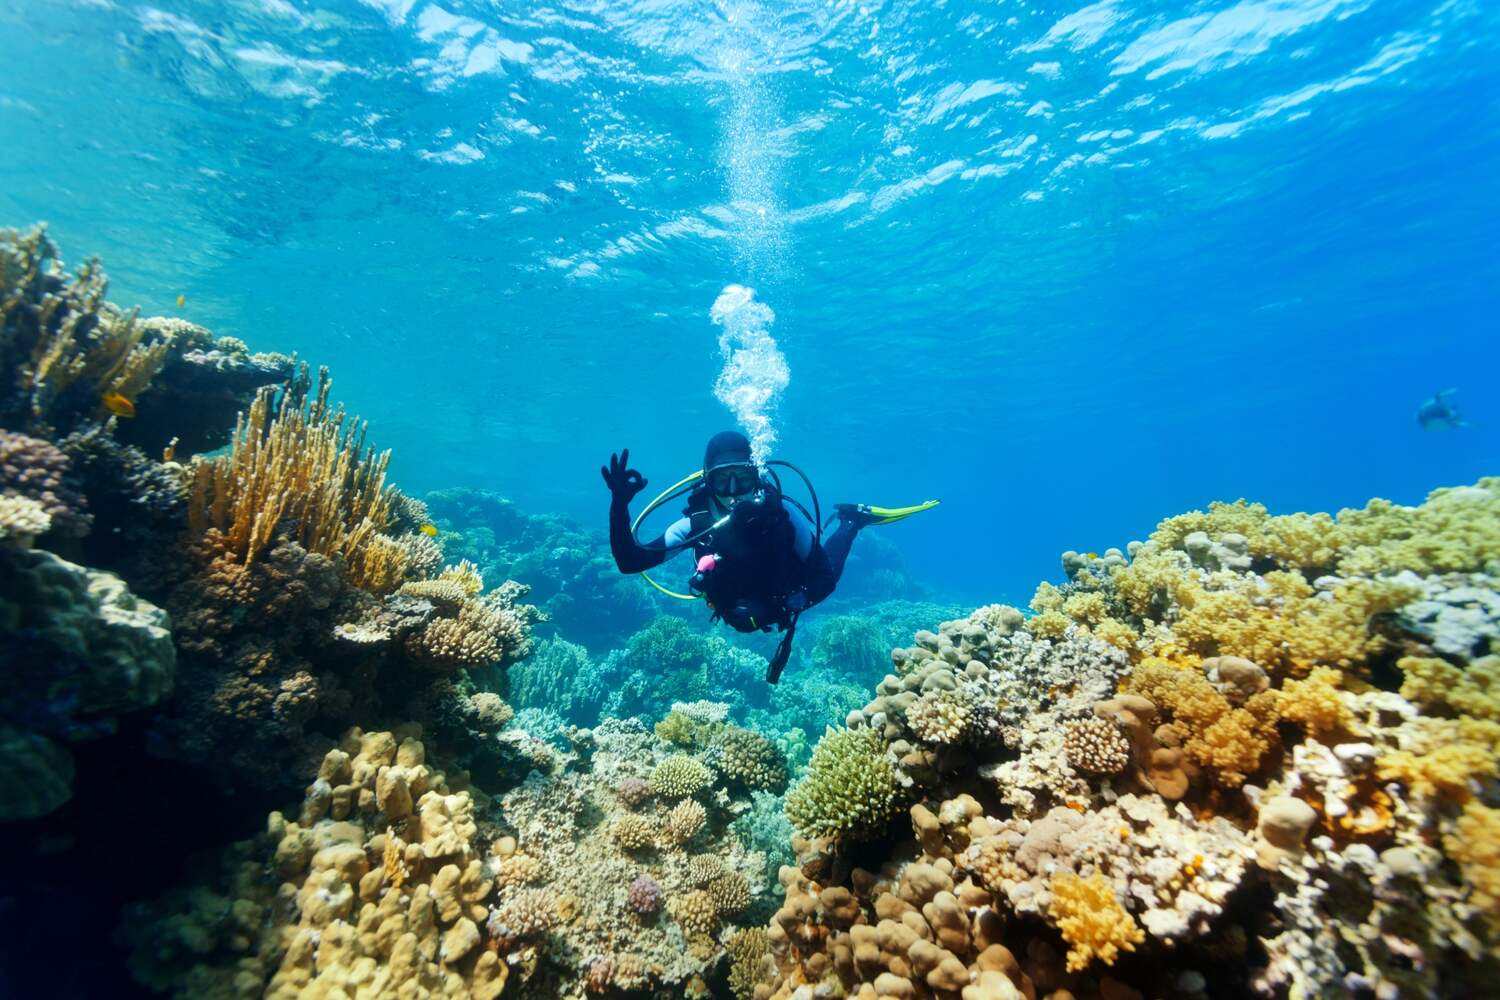
Get Close but Respect
To reduce the distance between you and your subject (and get a clearer shot) you’ll want to get close. But never touch or harass marine life – Remember, you’re a guest in their home.
You might want to take a course to learn how to approach different marine species responsibly.
Joining an underwater photography workshop in Maui can be super valuable. These workshops will teach you proper diving etiquette and help you improve your skills in a supportive environment.
Compose
Don’t just point and shoot; compose your shot using the Rule of Thirds and Leading Lines, here’s more to know:
Rule of Thirds
When shooting underwater don’t just point and shoot; use the rule of thirds. Imagine your frame divided into 9 equal parts by 2 horizontal and 2 vertical lines.
Place your subject at one of the intersections rather than the middle. This will create a more dynamic and balanced composition.
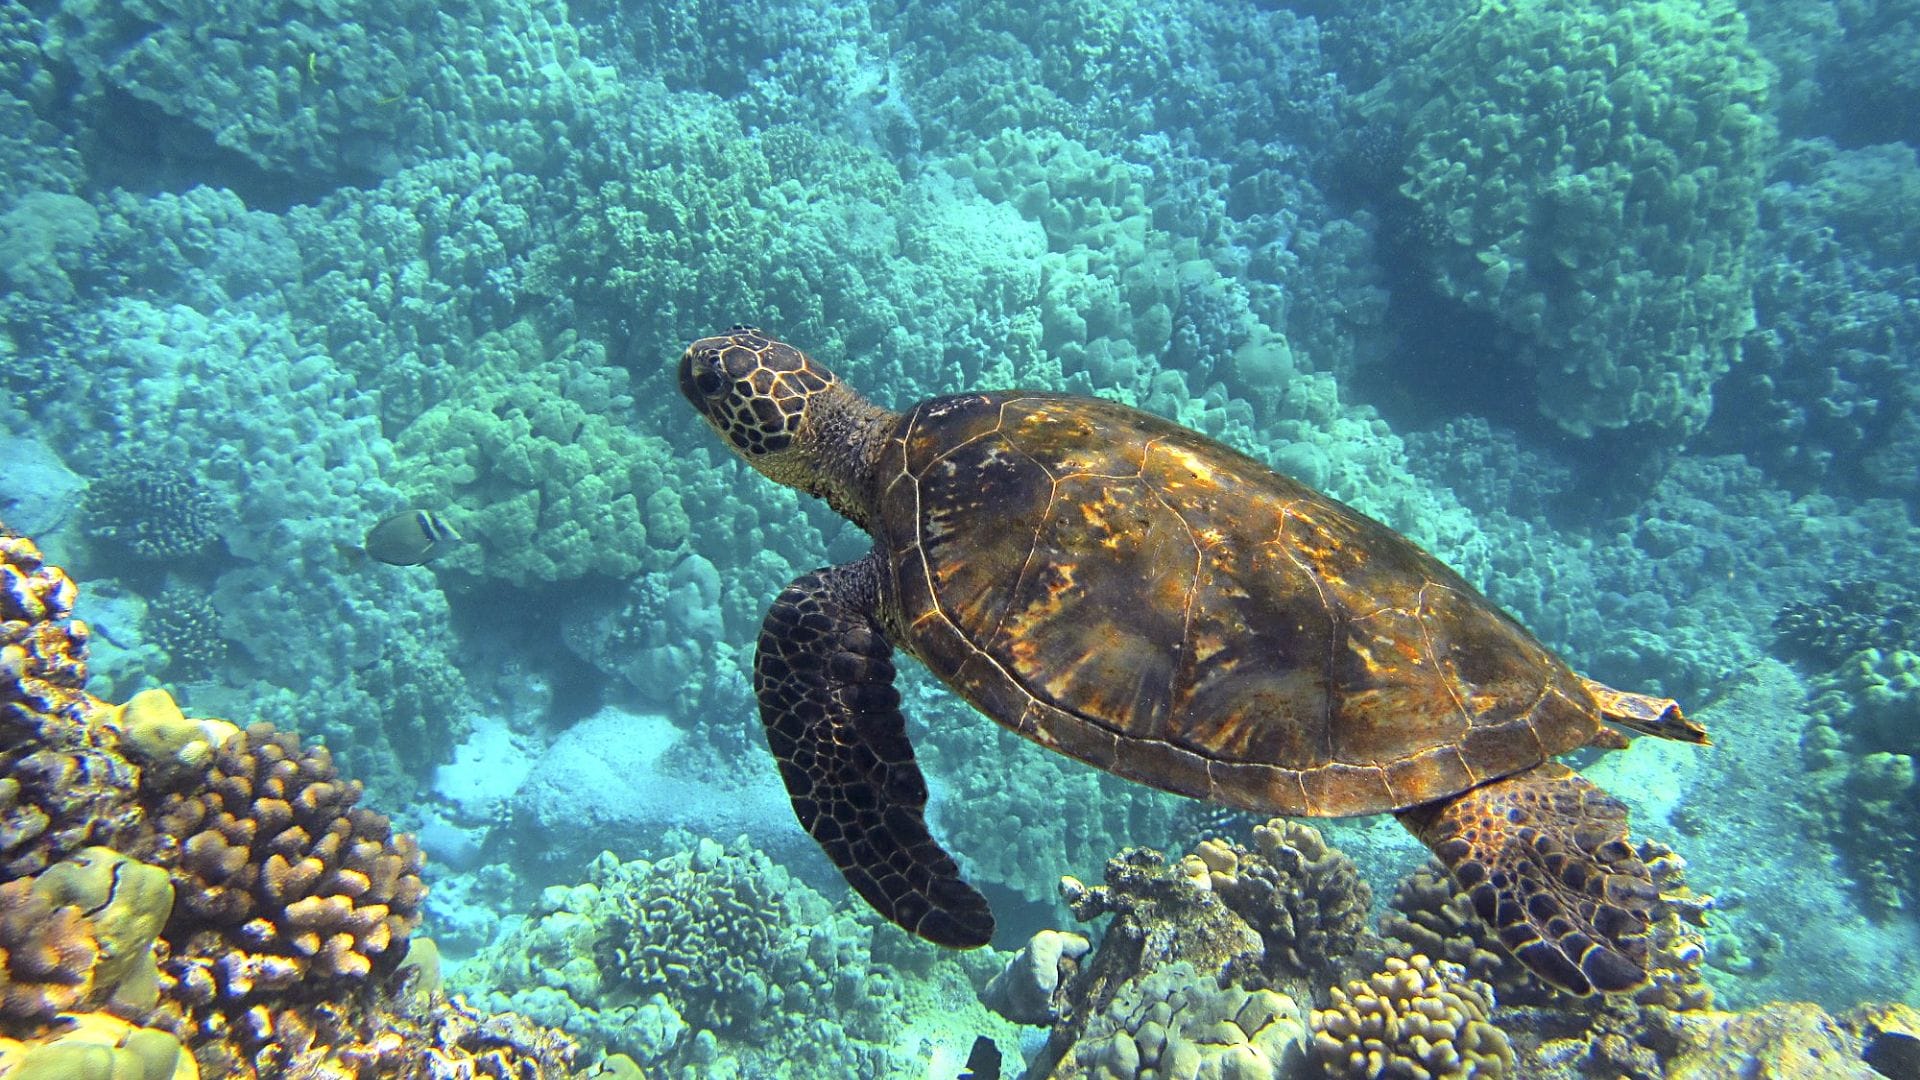
For example, placing a sea turtle or a coral at these points will draw the viewer’s eye to the subject and add interest to your photo.
Leading Lines
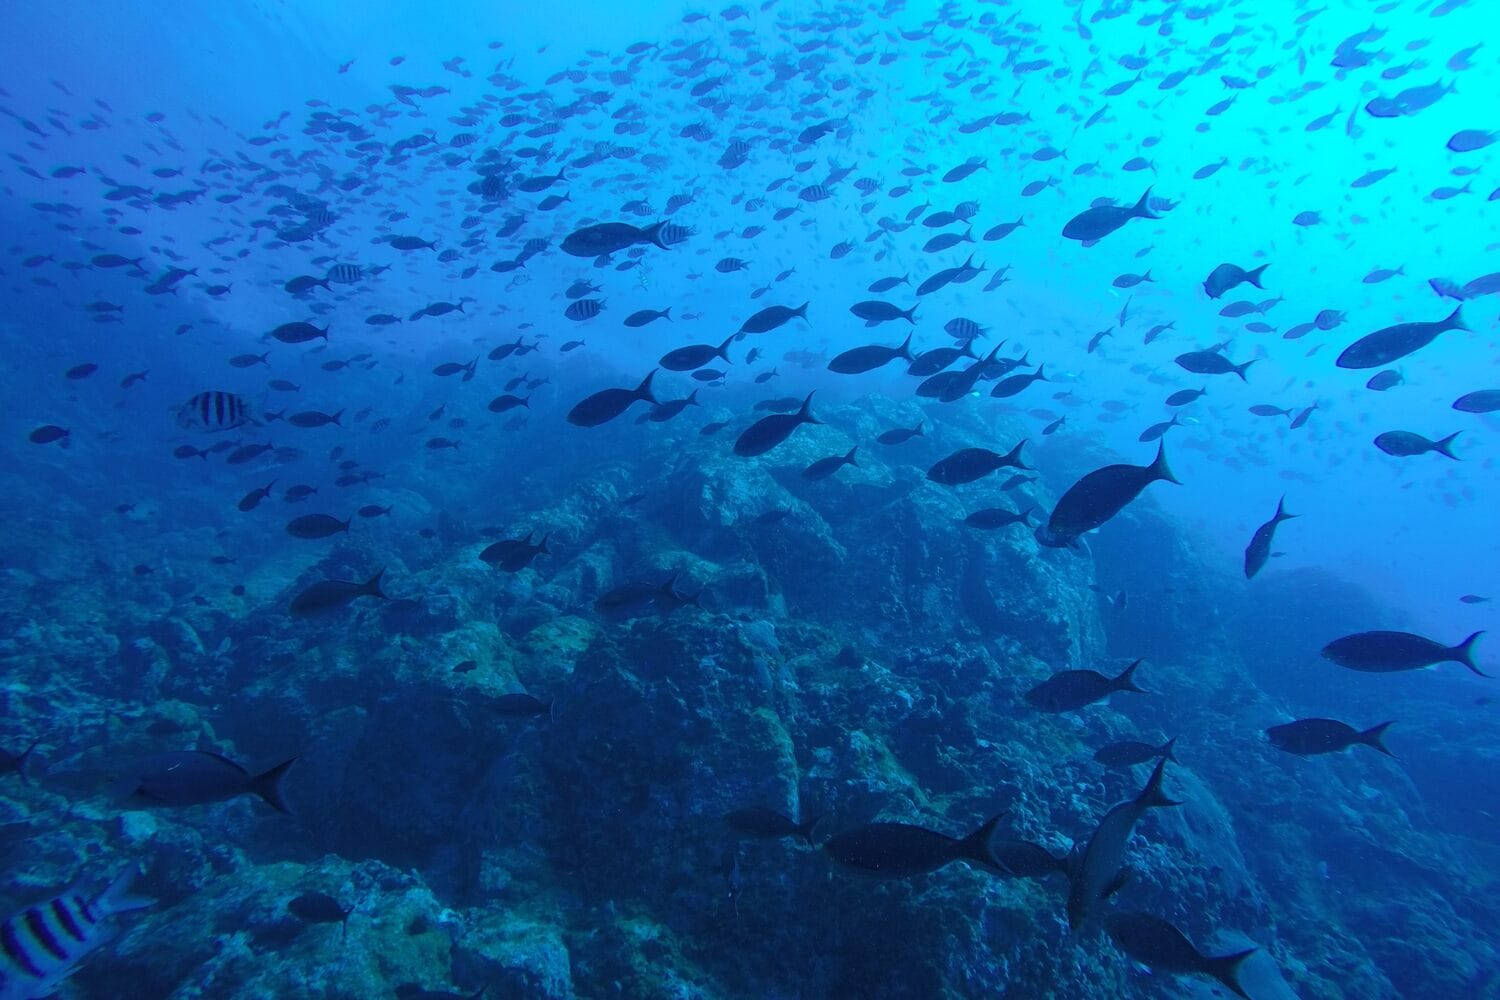
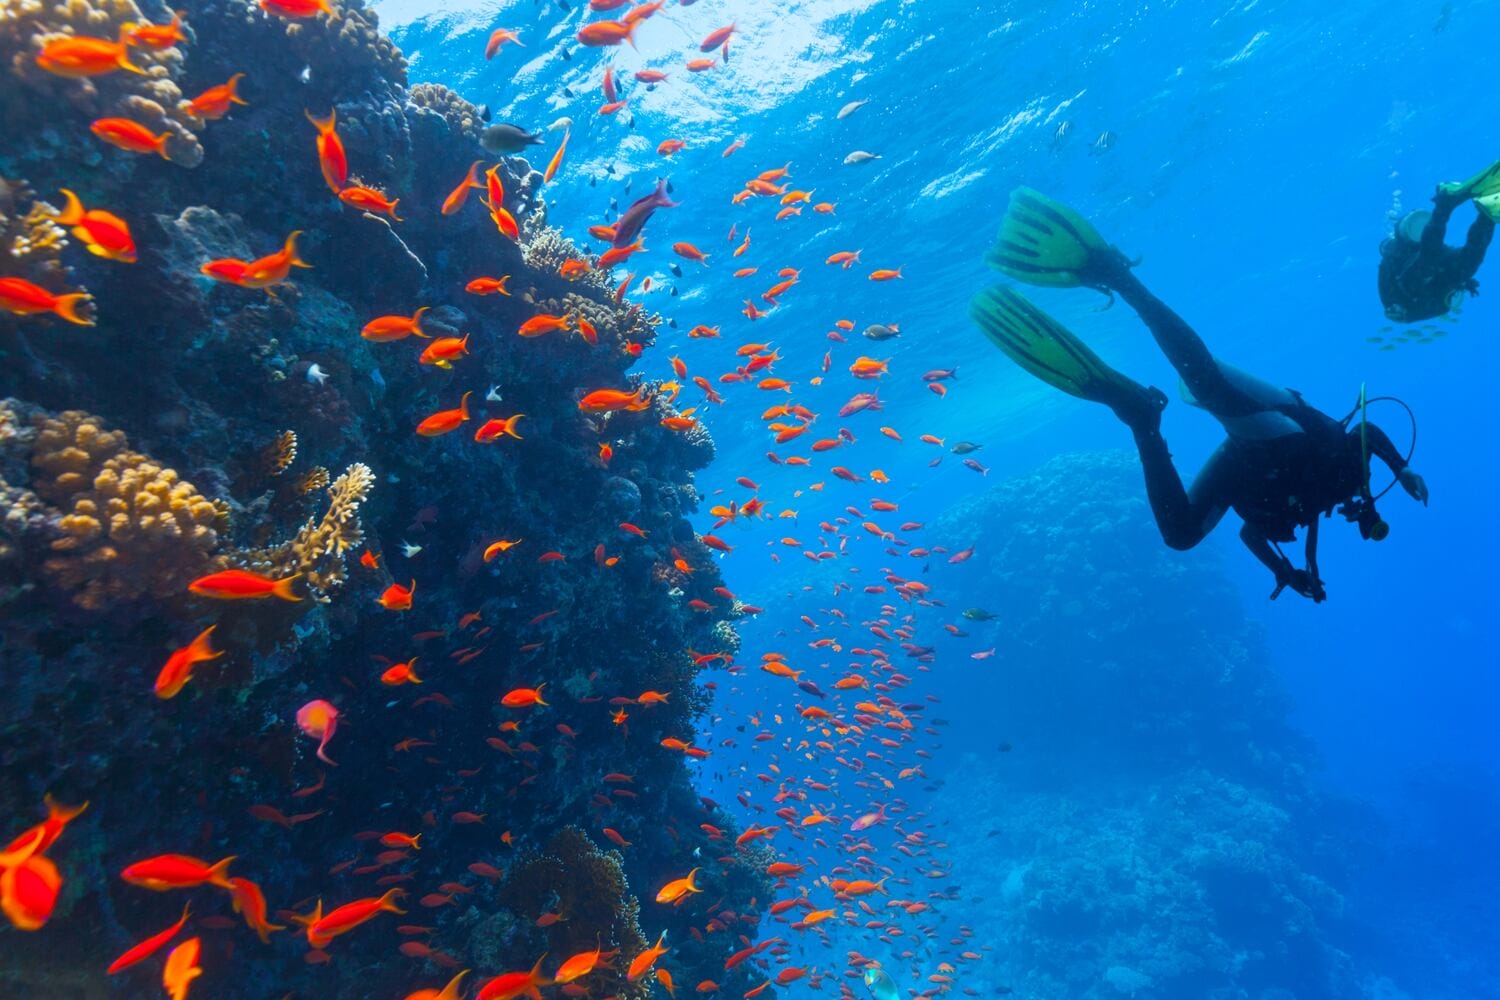
Use leading lines in your underwater photography to lead the viewer’s eye to your main subject. Natural lines like coral reefs, sun rays through the water, or even schools of fish can be great leading lines.
These elements create a visual path that leads the viewer to your subject and adds to the composition of your photo.
For example, a coral reef stretching into the distance can lead the viewer’s eye to a hidden fish or a diver in the scene and make the image more interesting and focused.
You’re probably thinking of snorkeling at Molokini Crater, so remember these tips for underwater photography before going.
Shoot in RAW
Many photographers know this, but it’s always good to keep the format in mind, especially when it comes to underwater photography in Maui Shooting RAW gives you more flexibility in post-processing. Unlike JPEGs, RAW files contain all the data from your camera sensor.
This means you have more control over exposure, white balance, and color correction during editing.
Changing the photo format from JPEG to RAW is pretty easy on any camera, and a quick Google search with your model will show you how.
Use Natural Light
Whenever you can, shoot with natural light. Natural light will make your images more vibrant and colourful especially in shallower waters.
The best time to shoot is midday when the sun is at its highest and the light is brightest. Understanding how light behaves underwater is key; it filters through the water, reducing intensity and changing colors.
The deeper you go, the more red and orange are absorbed, leaving your images blue or green. To master natural light, shoot in clear, shallow water where the light penetration is strongest.
Try Different Angles
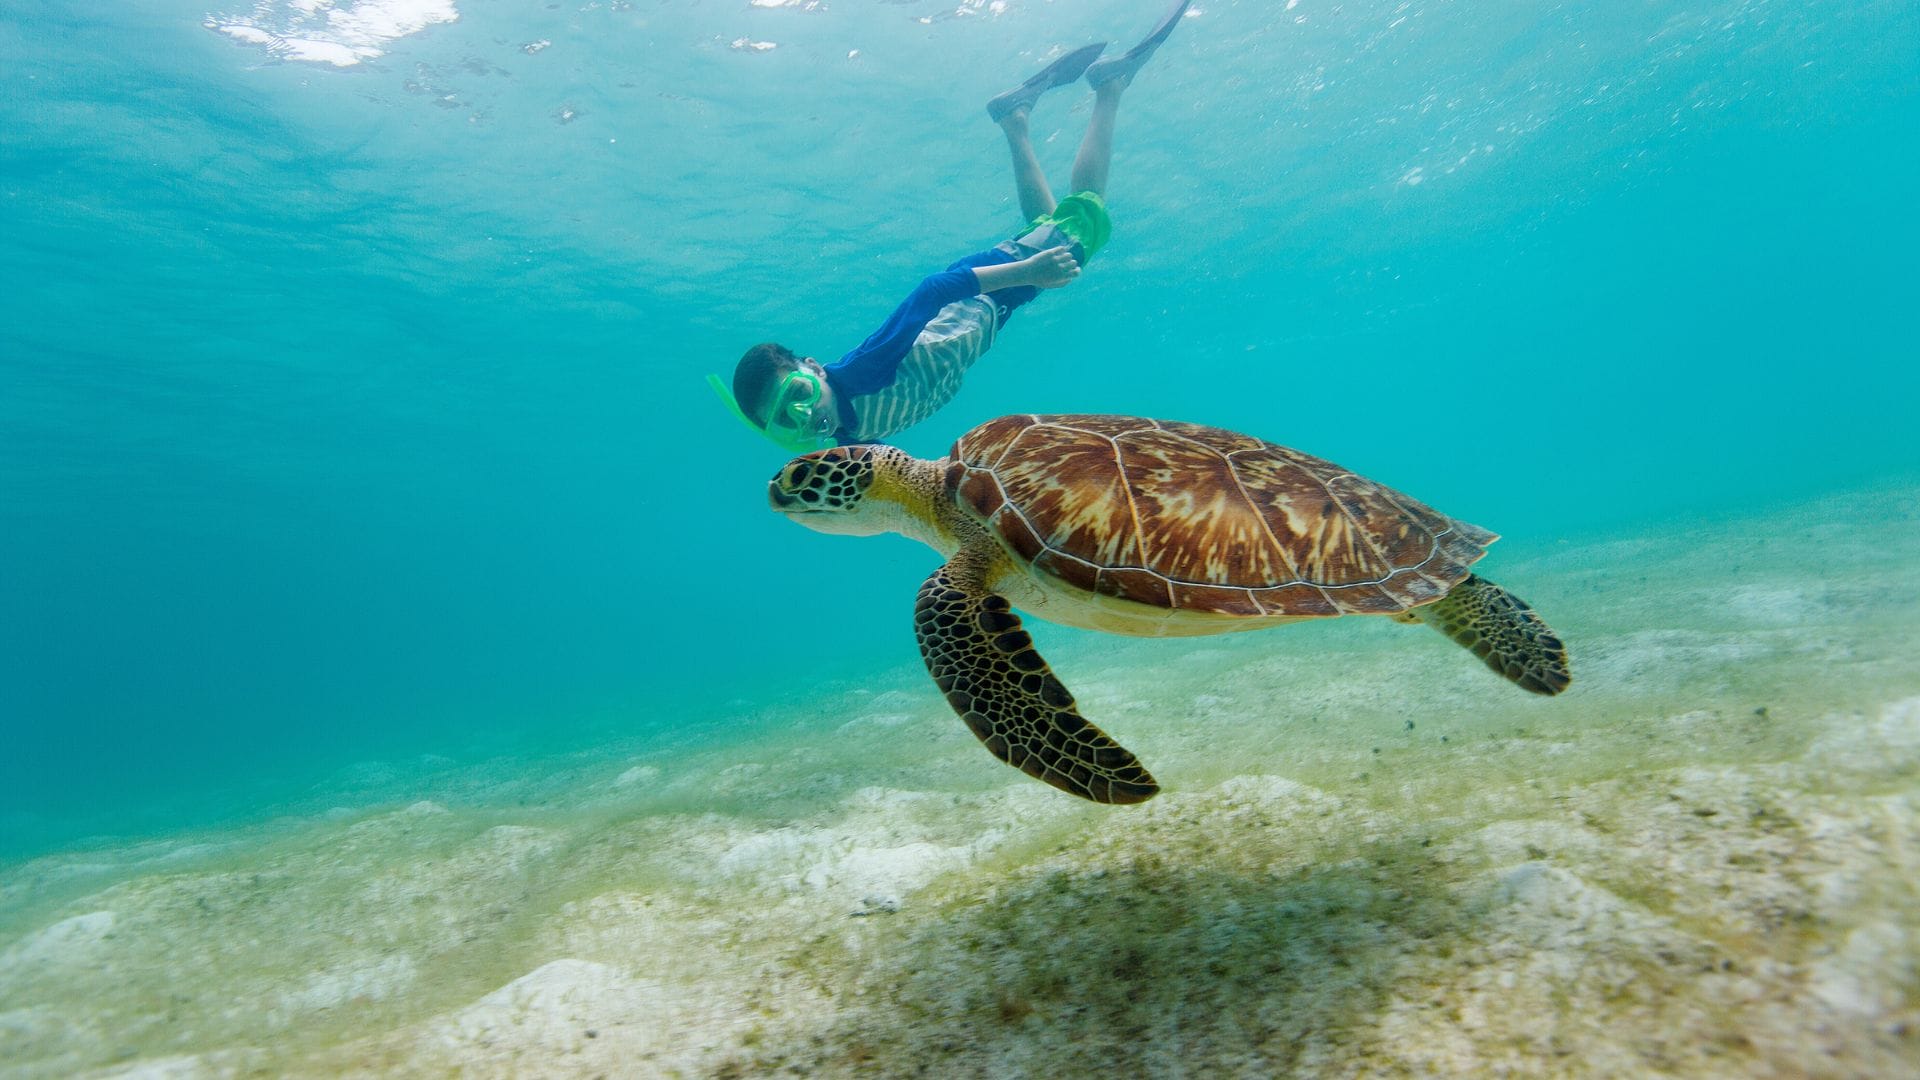
Shooting from different angles can make underwater photography interesting. Instead of always shooting from above, try shooting up towards the surface.
This angle can capture the light and water interaction, creating drama and surface reflections. Shooting at eye level with your subject makes you feel more connected to the marine life.
Getting low to the seafloor adds depth and dimension to your shots, and captures the vastness of the underwater landscape. These angles will make your images stand out and give you unique and interesting views of Maui’s underwater world.
Edit Your Underwater Photos
Editing is a big part of photography. Post-processing allows you to refine your images and get the best out of your raw shots.
Through editing, you can adjust the colors to compensate for the light absorption underwater and make the colors pop. You can also fine-tune the exposure so your images aren’t too dark or too bright.
All in all, good editing will make your underwater images better and showcase the best part of your trip to Maui!
Practice, Practice, Practice
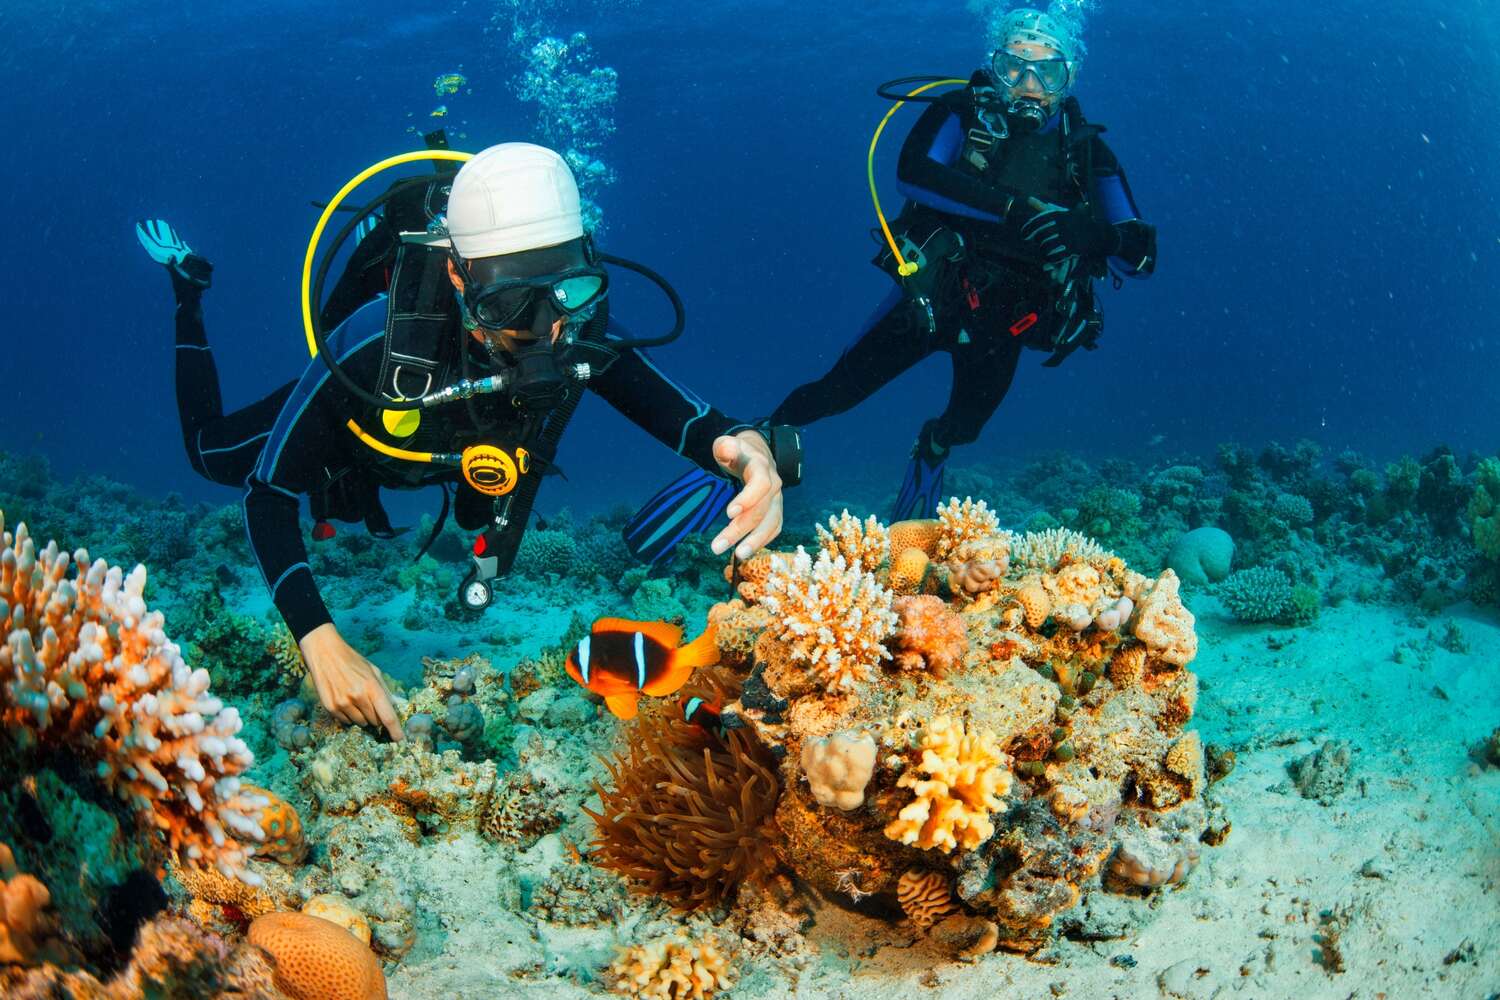
As with anything, practice is key to getting better at underwater photography. The more you practice the better you’ll get at taking great underwater images.
Use your time in Maui to try new techniques, angles, and settings. Don’t be afraid to make mistakes and learn from them. Each dive is a new opportunity to improve your skills and find your style.
Over time, you’ll become more comfortable and proficient and your images will get better and better and really capture Maui’s underwater world.
Conclusion:
Underwater photography in Maui offers the chance to capture incredible beauty, and we’re confident those are some of the best pictures you’ll take on your trip. But it requires specialized skills, some planning, and the right mindset.
By focusing on things like equipment and techniques, these pro tips for taking underwater photos in Maui should give you what you need to get some great shots while creating memories to last a lifetime.
Frequently Asked Questions
How to Get Good Underwater Photos?
To get good underwater pictures, consider investing in a good underwater camera and housing, using natural light whenever possible, composing your shots, shooting in RAW, and taking an underwater photography course. Post-processing your photos will also help.
How to Prepare for an Underwater Shoot?
Decide on your location in Maui and research what marine life you’ll see. Make a list of the shots you want to get so you don’t miss anything. Most importantly, double check all your camera equipment and dive gear are working. And remember, preparation is key.
What is the Best Time to Visit Maui for Marine Life
December to April is the best time to snorkel in Maui. You can see the humpback whales migrating to the warm waters of Maui during this time. It’s also great for snorkeling and diving as the visibility is good and the waters are full of fish, sea turtles and other marine life. This is the best time to experience Maui’s underwater world.
Share:
